How to Install the Connect App on Windows 10 for Wireless Projection
In this article, we have discussed the ways using which you can install the Connect App on your Windows 10 PC for a wireless projection.
If you are a Miracast user whouses it to project the screen of another device on their Windows PC, you will probably be surprised to know that with the fall 2020 update, released in May, the Connect app has beenremoved, and it will no longer be available by default in the Windows 10PC. However, it can still be downloaded from the Microsoft Store. This article lists the instructions that you would need to install Connect App on Windows. So, if you want the app on your system, you may follow along the instructions listed below:
- First, you need to launch Settings on your PC. In order to quickly head over to the same, you can tap on the “gear” icon appearingon the left (second last from the bottom)of the Start menu. You may also simultaneously press the Windows + “i” on the keyboard.
- Further, under the “Settings,” you need to click on “Apps.”
- Under the option “Apps & features,” tap on “Optional features.”
- Now, inside “Optional features,” you need to head over to “Add a feature,” which has a square plus (+) button adjacent to it.
- The “Add an optional feature” window will appear on your screen, where you need to scroll below tofigure out “Wireless Display.” Tap on the checkmark that appears beside it, and further press the “Install” button.The Wireless Display feature carries the Connect app that once remained Windows 10 PC’s partby default.
- Now that you have carried out the steps, you need to return to the “Optional features” screen. You will further notice a progress bar as “Wireless Display” downloading and getting installed. It will state “Installed” once the app gets installed.
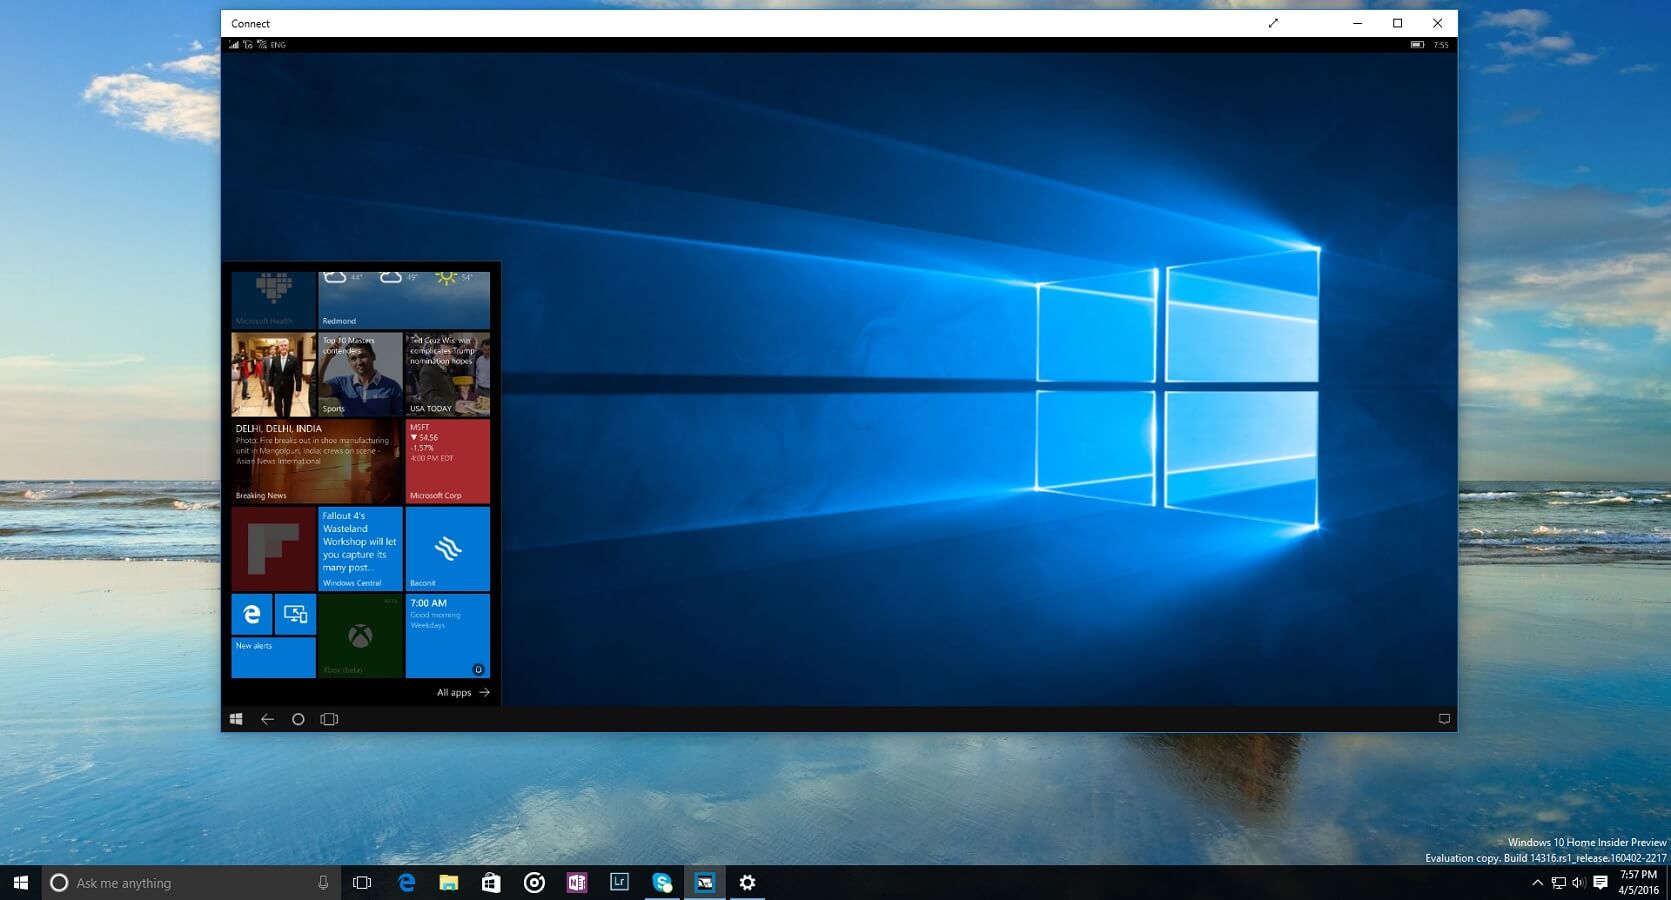
- From now on, you can access the Connect app by launching it whenever required. To access it, you need to head over to the Start menu, and type “Connect,” and furthertap on the icon appearing for the Connect app from the list.
- Once the Connect App launches, your Windows 10 systemwill be all set to accept a remote video connection. With that said, you have successfully established carried out the steps for Wireless Projection.
So, these were the steps using which you can install the Connect app on your Windows 10 device for Wireless Projection.In case you face any issue with the steps, you can use the comment section below to state it.
Source :- Windows 10 for Wireless Projection


Comments
Post a Comment